Introduction
Node.js is a web application platform that has been gaining significant developer popularity. With its focus on server-side javascript and lightweight execution, getting started with it might be easier than you think!
This tutorial takes you through the first steps of installing node.js and getting a simple web application up and running. In this 15-step tutorial, we’ll cover the technologies of node.js, jade, npm, and twitter bootstrap.
What’s Different About Node.js?
Node.js is server-side Javascript. That is, Javascript code is used on both the client (in the HTML) and on the server (in place of, for example, C# code). Node.js is asynchronous, event-driven, and non-blocking IO. Unlike the traditional web server that is thread-based, a Node server is event-based. When a request arrives for a web page, the server accepts the request and begins searching the disk for the physical file. While the server is waiting for the file to be retrieved, it can service the next web request. Once the file is ready, a callback is executed, data is streamed to the client and rendered in the browser. This is great for high-performance and high-scalability applications that receive large amounts of traffic.
Node.js has other advantages as well. It’s easy to startup. Most developers are already familiar with the Javascript programming language. There is also a large and growing community of node.js developers and a library with thousands of APIs available on npmjs.org, for tasks such as connecting to a mongo db, reading and writing files, scraping web pages, creating RESTful web services, and much more. You can even create and publish your own node.js modules to contribute to the repository.
With the background complete, let’s begin the tutorial!
Node.js Quick Start Tutorial
Download and install node.js.
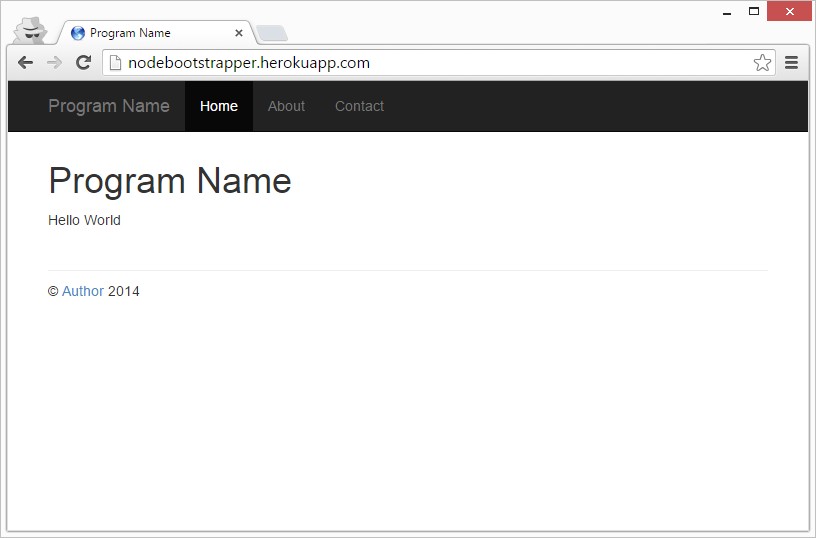
Download the Node.js Bootstrap Starter Template project. Here is a demo of the initial template running. In the next steps, we’ll modify the template to add a textbox and a button, allowing a user to enter their name and click submit.
Extract the project files to your desktop.
Open a Windows command prompt and navigate to the project folder from step 3 above.
At the command prompt, type: npm install
At the command prompt, type: node app
Navigate to http://localhost:3000 to view the example node.js project running. Exciting!
In the example project, open the /views folder and open the file index.jade in a text editor.
Add the following markup to the bottom of the file. Note, Jade uses tabs to indicate code blocks. After copying the below code, be sure to replace spaces with tabs and verify tab alignment is correct:
1 | form(method='post') |
In the example project, open the /routes folder and open the file index.js in a text editor.
Edit the line of code res.render(…), to include “name: null”, so it appears as follows:
1 | res.render('index', { title: 'Program Name', name: null }); |
Add the following code to the top of the file:
1 | var easypost = require('easypost'); |
In the example project, open the file package.json and add “easypost”: “*” to dependencies. Save the file.
At the command prompt, hit CTRL-C to kill the app , then type: npm install
At the command prompt, restart the app by typing: node app. Refresh the web page and submit. You’ll notice that we need to add a POST handler.
In the example project, open the file app.js and add the following code, towards the bottom of the file, after the line app.get(‘/‘, routes.index):
1 | app.post('/', routes.post); |
Restart the app and refresh the web page. You should now be able to type in your name and submit the form successfully.
Now that you’ve created a node.js web application, learn how to host your site on Heroku and publish your results live.
About the Author
This article was written by Kory Becker, software developer and architect, skilled in a range of technologies, including web application development, machine learning, artificial intelligence, and data science.
Sponsor Me